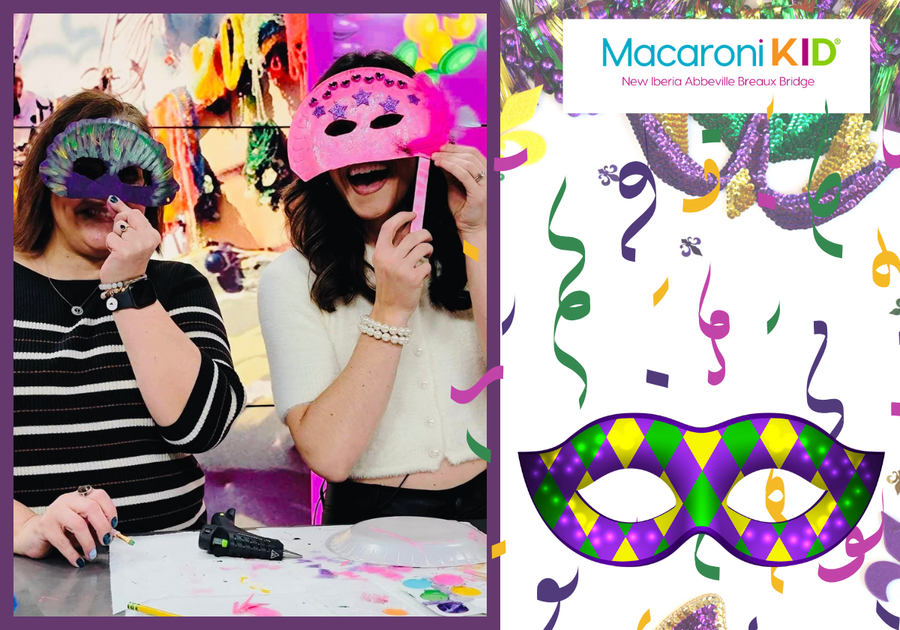
We celebrated the Mardi Gras season with a fun and easy craft on News 15 last year with Alex Worstell. This is a simple craft I am sure many of us in New Iberia made as kids for our art class, or our elementary school Mardi Gras parade, or just for fun at home with our friends and/or siblings.
Last year, I created the Shoebox Mardi Gras Float for my very first appearance on the morning show. It was a fun memory that I have carried with me from my childhood and I remember being excited to make one every year. So I asked my kids what crafts they remembered making when they were younger to celebrate carnival season and they both said a Mardi Gras mask.
Enjoy this clip from the show with Alex for inspiration to create your own:
You won't need much to create your own mask as I usually create my crafts with items we already have at home. Growing up in New Orleans, we always used the left over beads for our arts and crafts projects. As Louisiana locals, many have attended Mardi Gras balls or parties, or been a part of a parade krewe where masks were part of the required attire. With that, let me give you the details on how to make your own Mardi Gras Paper Plate mask with your kids this carnival season.
Mardi Gras Paper Plate Mask
Supplies You'll Need:
- Paper or Styrofoam plate
- Paints, brushes, and markers
- Popsicle sticks
- Elmer's glue and/or hot glue
- Mardi Gras beads
- Craft knife or scissors
- Stickers, glitter, pom-poms, sequins, noodles, beans or other small decorative items
- Ribbons or string optional as well
Step-by-Step Instructions
First paint your paper plate. I recommend only painting the top three quarters so you can hold the bottom of the plate as you craft. Make sure to paint both sides. You will probably need to put a couple of layers on your plate to make sure the coverage is solid.
Next, while your paint is drying you can decide which trinkets or goodies you want to add to give your mask some pizazz! You will want the actual inside of your plate to be the section that covers your face, so your trinkets will go on the other side. You can use anything from leftover beads to stickers, glitter, or other small items like buttons, beans, or noodles. Using hot glue to add your decorative items is best, as they will have a better chance of staying in place.
Now that your plate is completely dry, hold the plate up to your face or your child's face to mark the eyes with a pencil. I used a standard craft knife to cut the eyes out. They may look a little wonky but you can always trace over them with a dark marker or add another layer of paint if necessary.
Begin to add your decorative items around the plate as you desire. We used leftover beads, feathers, stickers, glitter glue and and pom-poms. Now you can cut your bottom half of plate away so that the only part covering your face is from the nose up. I trimmed my mask several times to get it to the right desire.
Next, using hot glue add a popsicle stick to the inside part of your mask so you can hold it up over your face. You can paint the stick, add ribbons, or other decorations as you desire. It's totally up to you! If you have string or elastic straps, you can also cut two holes on the side of your plate and run the string through so you can wear your mask hands free.
You kids will enjoy creating this Mardi Gras magic with you and they can wear their own mask to the parades, around the house, or better yet, make their own parade with friends in the neighborhood!
January 24, 2024 Image by Sierra St. Julien |
Let us know if you create your own Mardi Gras mask with the kids this carnival season and share your creations with us. Email your photos to mackidnewiberia@macaronikid.com or tag us on the socials below.
We'd love to show off your child's creations on our socials or in our newsletter!
 Image by Tracie Ysaguire | Canva Pro Image by Tracie Ysaguire | Canva Pro |
Happy Crafting Acadiana! |


